How To Clean HDMI Port? (3 Simple Methods)
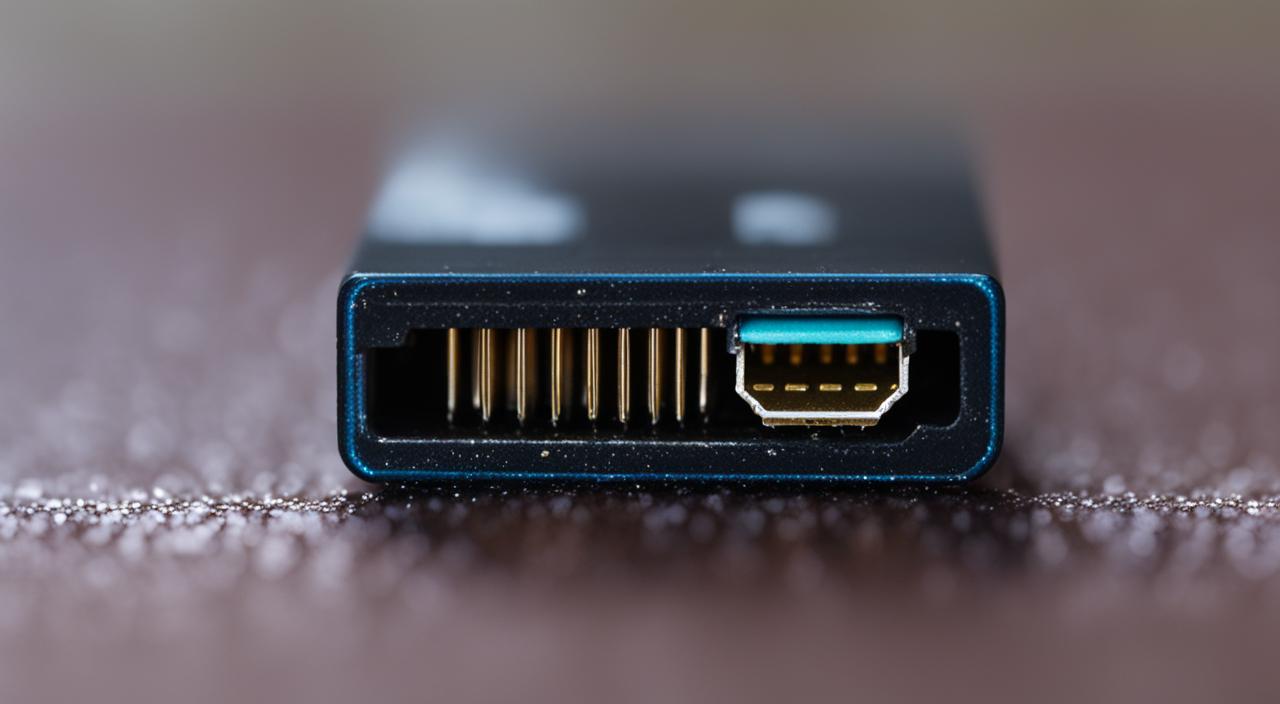
Are you experiencing connection issues with your HDMI port? Dust and dirt can accumulate in the port, affecting its performance. To ensure a clean HDMI port and maintain optimal connection quality, it’s essential to follow proper cleaning techniques and maintenance methods.
By using compressed air to remove debris and isopropyl alcohol with a cotton bud for stubborn dirt, you can effectively clean your HDMI port. Regularly inspecting and cleaning your HDMI port can help prolong its lifespan and prevent potential problems.
In this article, we will provide you with step-by-step instructions on how to clean your HDMI port and share valuable tips on maintaining its performance. Let’s dive in and explore the tools and techniques needed to keep your HDMI port clean and functioning optimally.
Tools and Methods for Cleaning HDMI Port
When it comes to cleaning your HDMI port, having the right tools and methods can make all the difference. Here are some recommended tools and techniques to ensure a thorough and effective cleaning:
1. Compressed Air
Compressed air is an essential tool for removing dust and debris from your HDMI port. It provides a quick and easy way to dislodge any particles that may be obstructing the connection.
Simply aim the nozzle at the port and give it a few short bursts of air to clear out the unwanted debris. Be sure to hold the can upright and use short, controlled bursts to avoid spraying any liquid onto the port.
2. Isopropyl Alcohol and Cotton Buds
If your HDMI port has stubborn dirt or grime that compressed air alone cannot remove, you can use isopropyl alcohol and cotton buds for a deeper clean. Dampen the cotton bud with a small amount of isopropyl alcohol and gently swab the inside of the port to remove any residue.
This method is particularly effective for removing sticky substances or stubborn dirt that may have accumulated over time.
3. Vacuum Cleaner with Soft Brush Attachment
In addition to compressed air and isopropyl alcohol, a vacuum cleaner with a soft brush attachment can also be used to clean your HDMI port. The soft brush attachment helps to dislodge and remove any loose particles without causing any damage to the port.
Use gentle back-and-forth motions to clean the port, being careful not to apply too much pressure.
By utilizing these tools and methods, you can safely and effectively clean your HDMI port, ensuring optimal performance and prolonging its lifespan.

Testing and Troubleshooting HDMI Port After Cleaning
Once you have successfully cleaned your HDMI port, it is vital to test its functionality to ensure a reliable connection. Begin by double-checking that all cables are properly tightened and securely plugged in.
This will help eliminate any potential loose connections that may affect the performance of your HDMI port.
Next, visually inspect the port for any visible signs of damage or corrosion. Look for bent pins, discoloration, or any other abnormalities that could impede the connection quality.
If you notice any issues, it may be necessary to seek professional assistance or consider replacing the port.
After the initial inspection, connect a compatible device to your HDMI port and test the connection. Pay attention to the image and audio quality, ensuring there are no distortions, flickering, or intermittent disruptions.
If you experience any problems, troubleshoot by trying a different cable or device. Keep in mind that certain HDMI ports may have limitations, such as only supporting specific resolutions or refresh rates.
Regularly cleaning and maintaining your HDMI port, in addition to conducting thorough testing, is crucial to ensure optimal performance and prevent potential issues. By following these steps, you can enjoy a seamless connection and an enhanced viewing experience with your HDMI devices.

