How to Connect Ender 3 to PC? (Steps and Video)
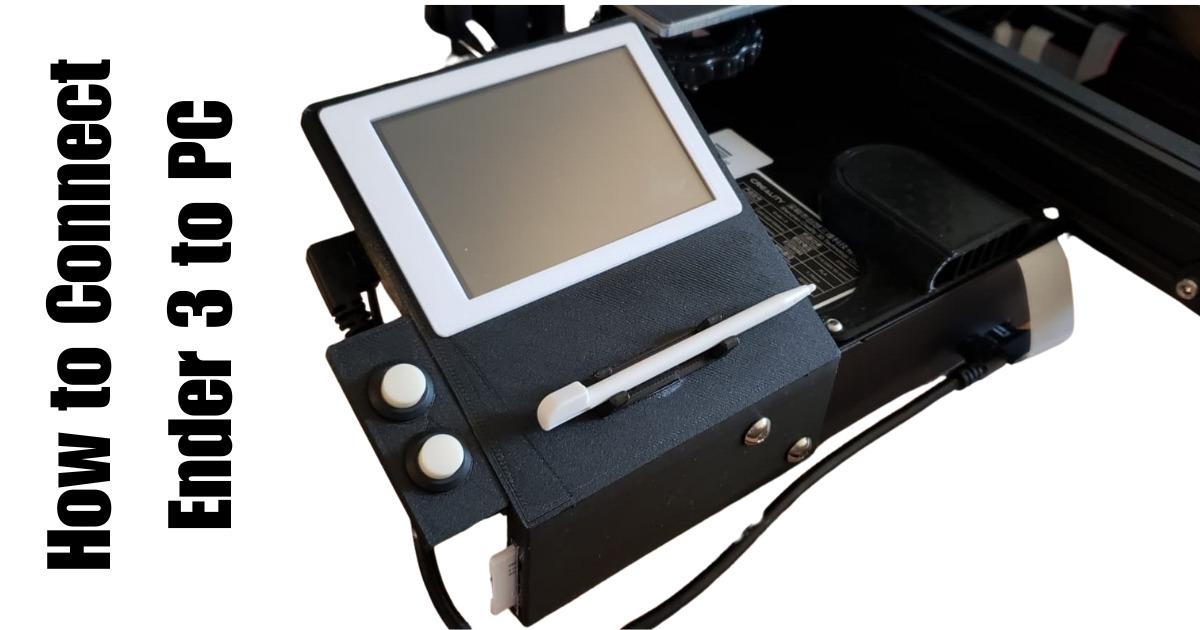
Connecting your Ender 3 3D printer to your PC via USB not only offers greater convenience but also provides enhanced control over your printing process.
In this comprehensive guide, we will walk you through the process of establishing a successful Ender 3 USB connection, ensuring a smooth and seamless experience.
Whether you own the standard Ender 3, Ender 3 V2, or Ender 3 S1, the first step is to choose the correct USB cable compatible with your model.
For the standard Ender 3, a Mini USB cable is required, while the Ender 3 V2 uses a Micro USB cable, and the Ender 3 S1 uses a USB-C cable. Make sure the cable is capable of data transfer and not limited to charging-only functionality.
To prevent backpowering, we recommend using the electrical tape method to ensure a stable connection between your Ender 3 and PC.
Once you have the appropriate cable and have secured the connection, you can use the Device Manager tool on Windows or the System Report tool on MacOS to verify the successful connection.
Connecting Your Ender 3 (V2 & Neo & Pro & S1) to Your PC with the USB Port
Connecting your Ender 3 to your PC via the USB port is a straightforward process that allows for greater control and convenience.
To establish the connection, you will need an appropriate USB cable compatible with your Ender 3 model: Mini USB for the standard Ender 3, Micro USB for the Ender 3 V2, and USB-C for the Ender 3 S1.
It is crucial to ensure that the USB cable you use is a data cable, capable of transferring information between your PC and the printer. Avoid using charge-only cables, as they do not support data transfer.
Once you have the correct cable, you can proceed to connect your Ender 3 to your PC. Plug the USB cable into the USB port on your Ender 3 and the corresponding port on your PC.
To prevent backpowering, which can cause issues, it is advisable to use the electrical tape method. Simply cover the 5V pin on your USB cable with electrical tape to disable it.
After the physical connection is established, you can verify the successful connection by checking the Device Manager tool on Windows or the System Report tool on MacOS.
These tools will show you if your Ender 3 is recognized by your PC, ensuring that you can proceed with printing and controlling your printer through the USB connection.
Starting a Print on Your Ender 3 (V2 & Neo & Pro & S1) Through the USB Connection
If you’ve successfully connected your Ender 3 to your PC using a USB cable, you can now start a print directly from your computer. One popular software option for this purpose is Ultimaker Cura.
Using Ultimaker Cura
To begin, make sure you have Ultimaker Cura installed on your PC. If you don’t have it yet, you can download it for free from the Ultimaker website.
Once installed, open Cura and import your 3D model file by clicking on the “Open File” button or dragging and dropping the file into the program.
Once your model is imported, you can adjust print settings such as layer height, infill density, and print speed according to your preferences.
After you’re satisfied with the settings, click on the “Slice” button to generate the G-code instructions for printing.
Instead of saving the G-code to an SD card, choose the “Print via USB” option in Cura.
This will send the G-code instructions directly to your Ender 3 through the USB connection. Make sure your Ender 3 is powered on and connected to your PC before proceeding.
Once the G-code has been successfully transferred, you can monitor the progress of your print from the Cura interface.
Keep in mind that the printing process will rely on the stability of your USB connection, so it’s crucial to ensure a reliable and uninterrupted connection between your PC and Ender 3 throughout the entire print job.
| Pros | Cons |
|---|---|
| Convenient and easy to initiate prints directly from your PC | Reliance on USB connection stability may result in print failures if the connection is interrupted |
| Familiar software interface for users already using Ultimaker Cura for slicing | Potential compatibility issues with the Cura USB Printing plugin |
| Ability to adjust print settings and monitor progress from your PC | May require additional troubleshooting if prints do not start or complete successfully |
Starting a print on your Ender 3 through the USB connection provides a convenient way to control your printer directly from your PC. However, it’s important to keep in mind the potential challenges and limitations of relying solely on the USB connection.
If you encounter any issues, consider alternative methods such as using an SD card or Wi-Fi connectivity to ensure successful prints.
Controlling Your Ender 3 (V2 & Neo & Pro & S1) Through the USB Connection
Controlling your Ender 3 through the USB connection offers a range of possibilities for managing and fine-tuning your 3D printing projects. One popular software option for this purpose is Pronterface (or Printrun).
By installing and connecting your Ender 3 to Pronterface, you can efficiently send G-code commands and exercise precise control over your printer’s movements and settings.
Using Pronterface to Control Your Ender 3
To get started, begin by installing Pronterface on your PC. Once installed, connect your Ender 3 to your computer using the USB cable.
Open Pronterface and navigate to the Port button to select the appropriate COM port for your Ender 3. Set the baud rate to 250000.
Once the connection is established, you can use the input box in Pronterface to send G-code commands directly to your Ender 3.
This allows you to control various aspects of the printing process, such as adjusting the extruder temperature, homing the printer, and moving the print head along the X, Y, and Z axes.
Exploring Other Software Options
While Pronterface is a popular choice for controlling the Ender 3 through USB, there are alternative software options available as well.
OctoPrint is another widely-used software that enables remote management and control of 3D printers through a web interface. It provides features like webcam monitoring, timelapse recording, and plugin support for expanded functionality.
Ultimately, the choice of software depends on your specific requirements and preferences. Whether you opt for Pronterface, OctoPrint, or another program, the ability to control your Ender 3 via USB opens up a world of possibilities for customization and precision in your 3D printing projects.
Choosing the Right USB Cable for Your Ender 3
When it comes to connecting your Ender 3 to your PC, choosing the right USB cable is crucial for a seamless and reliable connection. The type of USB cable you need depends on the model and version of your Ender 3.
Here’s a guide to help you select the best USB cable for your specific Ender 3:
Ender 3:
The standard Ender 3 requires a Mini USB cable. This small and compact cable is widely available and often comes included with the printer. Ensure that the cable you choose is rated for data transfer and not charge-only.
Ender 3 V2:
The Ender 3 V2 uses a Micro USB cable for its USB connection. This cable is slightly smaller than the Mini USB cable and is commonly used for various devices. Make sure the cable you select is suitable for data transfer.
Ender 3 S1:
The Ender 3 S1 utilizes a USB-C cable for its USB connection. USB-C is the latest standard for USB connections and offers faster data transfer speeds.
When choosing a USB-C cable, ensure that it is compatible with data transfer and not solely designed for charging.
It’s worth noting that if your PC doesn’t have the corresponding USB port for your Ender 3 model, you may need an adapter. Additionally, consider the length of the cable based on the distance between your PC and Ender 3.
A longer cable may be required if they are located further apart.
| Ender 3 Model | USB Cable Type |
|---|---|
| Ender 3 | Mini USB |
| Ender 3 V2 | Micro USB |
| Ender 3 S1 | USB-C |
By selecting the appropriate USB cable for your Ender 3 model, you can ensure a stable and efficient connection between your printer and PC. Remember to check for data transfer compatibility and consider any necessary adapters or cable lengths.
With the right USB cable, you’ll be able to enjoy the convenience and control of connecting your Ender 3 to your PC.
Installing the Software for Ender 3 PC Connection
Establishing a successful connection between your Ender 3 and PC requires the installation of the appropriate software. There are several options available, each providing different functionalities for controlling and managing your printer.
One popular choice is Pronterface, also known as Printrun. This software allows you to communicate with your Ender 3 through the USB connection, providing a user-friendly interface for sending G-code commands and controlling various aspects of the printing process.
Another essential software is Ultimaker Cura, a powerful slicing program that enables you to prepare 3D models for printing.
With Cura, you can import your model files, adjust settings such as layer height and print speed, and generate G-code instructions that your Ender 3 can understand.
To ensure smooth communication between your PC and Ender 3, it’s important to install the necessary port drivers. Most Ender 3 models use the CH340 or CH341 drivers, which allow your computer to recognize the USB port connected to your printer.
Installing these drivers will ensure a seamless connection and enable you to utilize the full capabilities of your Ender 3.
Software for Ender 3 PC Connection
| Software | Description |
|---|---|
| Pronterface | A user-friendly software for controlling your Ender 3 through the USB connection. It allows you to send G-code commands and monitor various aspects of the printing process. |
| Ultimaker Cura | A powerful slicing program that enables you to prepare 3D models for printing. Cura allows you to adjust settings and generate G-code instructions for your Ender 3. |
| CH340/CH341 Port Drivers | Essential drivers that enable your PC to recognize the USB port connected to your Ender 3. Installing these drivers ensures a smooth communication between your computer and printer. |
By installing the appropriate software and drivers, you can unlock the full potential of your Ender 3 and have greater control over the printing process.
Whether you choose Pronterface or Ultimaker Cura, these tools provide the necessary functionality to manage and control your printer through the USB connection.
Don’t forget to install the required port drivers to ensure reliable communication between your PC and Ender 3.
Verifying the Connection between Your Ender 3 and PC
Once you have connected your Ender 3 to your PC via USB and installed the necessary software and drivers, it’s important to verify the successful connection.
This step ensures that your PC is recognizing the printer and that you can proceed with controlling and printing.
Checking Printer Connection in Device Manager
If you are using a Windows operating system, open the Device Manager by right-clicking on the Start button and selecting “Device Manager” from the menu. In the Device Manager window, navigate to the “Ports (COM & LPT)” category. Look for an entry that includes the text “USB-SERIAL CH340” or similar.
This indicates that your Ender 3 is successfully connected and recognized by your PC. If you see any exclamation marks or error icons, it may indicate an issue with the connection.
In this case, refer to the troubleshooting section or ensure that your USB cable and drivers are properly installed.
Verifying Printer Connection in System Report
If you are using MacOS, you can use the System Report tool to check the printer connection. Go to the Apple menu, select “About This Mac,” and then click on “System Report.” In the System Report window, expand the “Hardware” section and select “USB.”
Look for the entry that corresponds to your Ender 3 printer. If it is listed and there are no errors, it indicates a successful connection.
If you encounter any issues or the printer is not detected, refer to the troubleshooting section or ensure that your USB cable and drivers are properly installed.
| Operating System | Verification Method |
|---|---|
| Windows | Device Manager > Ports (COM & LPT) > USB-SERIAL CH340 |
| MacOS | About This Mac > System Report > Hardware > USB > Ender 3 |
Tips for a Smooth Printing Experience with Ender 3 and PC Connection
When it comes to connecting your Ender 3 to your PC for an enhanced printing experience, there are a few tips that can help ensure a smooth process. First and foremost, it’s essential to avoid interruptions during your Ender 3 print.
To do this, disable sleep mode on your PC to prevent it from entering sleep or hibernation while printing. This will help prevent any disconnects or disruptions in communication between your PC and Ender 3.
Another important tip is to optimize your Ender 3 USB connection. Keep the USB cable connected securely to both your Ender 3 and PC.
If you notice any intermittent connection issues, try using a shorter and higher-quality USB cable. A stable USB connection is crucial for maintaining a seamless printing experience.
Close unnecessary background programs on your PC to free up system resources and ensure that your computer is dedicated solely to the printing task at hand. This will help prevent any slowdowns or performance issues during the printing process.
Additionally, avoid plugging in other USB devices while printing to minimize any potential conflicts or power allocation problems.
To protect against power outages and potential data loss, consider connecting your PC and Ender 3 to a battery backup or uninterruptible power supply (UPS).
This will provide a reliable source of power and safeguard your print progress in case of any unforeseen interruptions.


