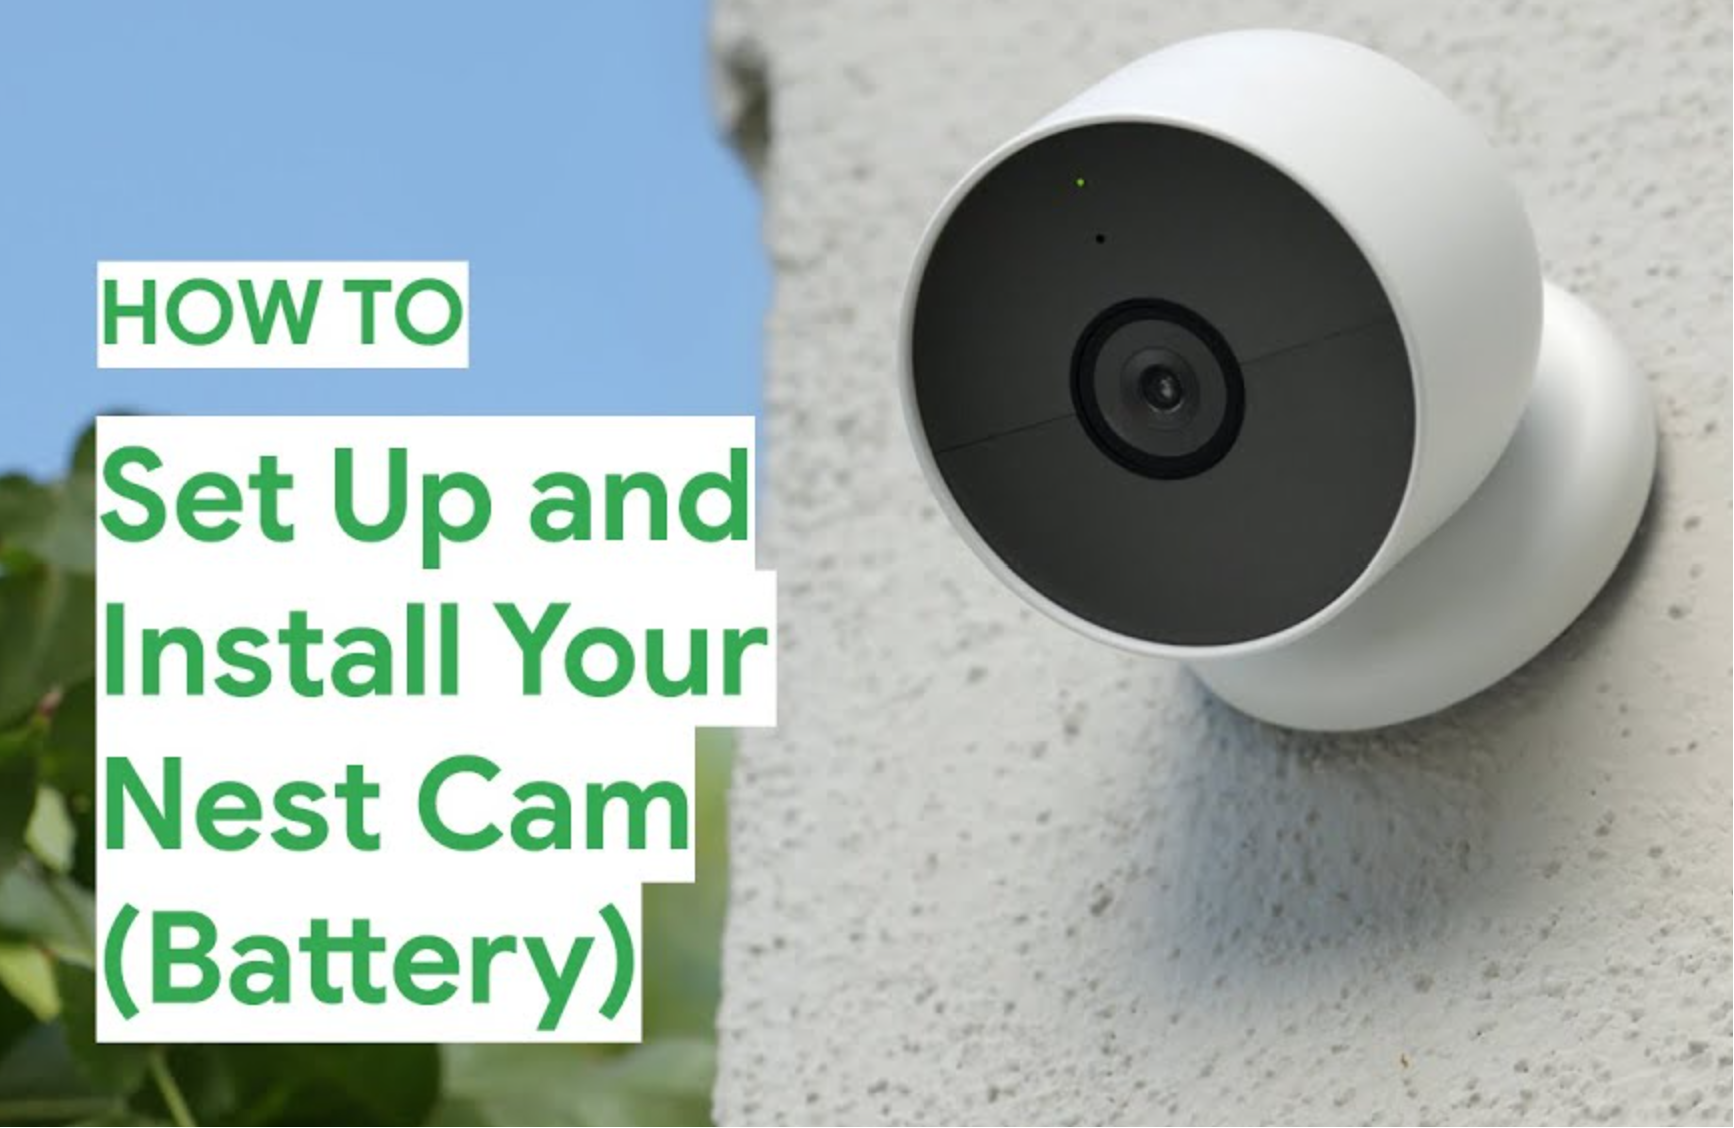
How to Connect Nest Camera to WiFi? (Sep By Step Guide)
In this article, I will guide you through the process of connecting your Nest camera to WiFi. Whether you’re setting up a new camera or troubleshooting connectivity issues, this step-by-step guide will help you get your camera up and running in no time.
To begin, you will need to download the Nest app and create an account. The Nest app is available for both iOS and Android devices, making it accessible for smartphone and tablet users.
Once you have the app installed and your account created, you can proceed to add your camera to the app. This involves following the on-screen instructions and entering your WiFi network name and password.
Once your camera is successfully connected to WiFi, you can customize settings and view live footage from the Nest app. It’s that simple!
And if you encounter any issues along the way, don’t worry. I will also provide troubleshooting tips to help you overcome any potential obstacles.
So let’s get started and get your Nest camera connected to WiFi!
How to Connect Nest Camera to WiFi
You need to do some steps if you want to do this process properly. To connect a Nest camera to WiFi you need to follow the steps below,
- Download the Nest app on your smartphone or tablet from the App Store or Google Play Store.
- Open the app and create a Nest account by providing your email address and creating a password.
- Plug in your Nest camera and wait for it to power on.
- Open the Nest app and tap on the “Add” button to add a new device.
- Select “Nest Cam” from the list of devices.
- Follow the on-screen instructions, which will include selecting your WiFi network from a list.
- Enter your WiFi network password and wait for the camera to connect to WiFi.
- Once connected, you can customize settings and view live video feeds from the Nest app.
Ensure your WiFi network is functioning properly, and the camera is within the WiFi signal range. If you encounter issues, double-check the WiFi credentials and ensure your network is on a 2.4GHz frequency, as Nest cameras are not compatible with 5GHz networks.
Now im going indepth on this process, so you can get a clear idea of all the steps.
Downloading the Nest App and Creating an Account
To connect your Nest camera to WiFi, the first step is to download the Nest app on your smartphone or tablet.
The app is compatible with both iOS and Android devices, making it convenient for users across different platforms.
Simply visit the App Store or Google Play Store and search for the Nest app. Once you find it, click on the “Download” button to begin the installation process.
After the app has finished downloading, open it on your device. You’ll be prompted to create a Nest account in order to set up and manage your camera.
Creating an account is quick and easy. Just provide some basic information such as your name, email address, and password. Once you’ve entered this information, click on the “Create Account” button to proceed.
By creating a Nest account, you’ll have access to a range of features and settings for your camera. This account will also allow you to control your camera from anywhere using the Nest app.
It’s important to note that each camera requires its own Nest account, so if you have multiple cameras, you’ll need to create separate accounts for each one.
Comparing Nest App Compatibility
| Device | iOS | Android |
|---|---|---|
| Smartphone | Yes | Yes |
| Tablet | Yes | Yes |
As the table above explains, the Nest app is available on both iOS and Android platforms for smartphones and tablets.
This ensures that users can easily access and control their Nest cameras regardless of the device they use. Whether you have an iPhone, iPad, Samsung Galaxy, or any other popular mobile device, you’ll be able to download the Nest app and create an account to connect your camera to WiFi.
Adding Your Camera to the App
Once you have downloaded the Nest app and created an account, the next step is to add your camera to the app.
This will allow you to connect your camera to your WiFi network and access it from anywhere using the app. To add your camera, simply open the Nest app and tap on the “Add” button. From the list of devices, select “Nest Cam.”
Once you have selected “Nest Cam,” the app will guide you through the process of connecting your camera to WiFi. Follow the on-screen instructions carefully to ensure a successful setup.
You will need to enter your WiFi network name and password during this process. Make sure to double-check that you have entered them correctly to avoid any connectivity issues.
While adding your camera to the app, it’s important to be patient and allow the camera to connect to WiFi.
This may take a few minutes, so avoid interrupting the process. Once the camera is successfully connected, you can customize settings, view live video feeds, and enjoy the full functionality of your Nest camera through the app.
Connecting Your Camera to WiFi
To successfully connect your Nest camera to WiFi, you need to follow a simple setup process. Here’s a step-by-step guide:
- Make sure your camera is plugged in and turned on.
- Open the Nest app on your smartphone or tablet.
- Select your camera from the app’s device list.
- Follow the on-screen instructions to connect your camera to WiFi.
- Choose your WiFi network from the provided list.
- Enter your network password.
- Wait for the camera to connect to WiFi. This process may take a few minutes.
Once your camera is successfully connected to WiFi, you can customize settings and access live video feeds from the Nest app.
Common Connection Issues
If you encounter any issues during the connection process, here are some troubleshooting tips:
- Ensure that your WiFi network is functioning properly and has a strong signal in the camera’s location.
- Double-check that you are entering the correct WiFi network name and password.
- Ensure that your WiFi network is set up to use a 2.4GHz frequency, as Nest cameras are not compatible with 5GHz networks.
- If you’re still experiencing difficulties, consult the user manual or online support resources for more detailed troubleshooting steps.
| Issue | Solution |
|---|---|
| Weak WiFi signal | Reposition the camera closer to the WiFi router or consider using a WiFi extender. |
| Incorrect WiFi password | Double-check the password and ensure it is entered correctly. |
| Compatibility with 5GHz network | Switch your WiFi network to the 2.4GHz frequency, as Nest cameras only support this frequency. |
| Other connectivity issues | Contact Nest customer support for assistance. |
By following these steps and troubleshooting tips, you should be able to successfully connect your Nest camera to your WiFi network and enjoy the benefits of remote surveillance and control.
Troubleshooting Tips for Connecting Nest Camera to WiFi
If you’re experiencing issues connecting your Nest camera to WiFi, don’t worry. There are several troubleshooting tips that can help you resolve common connectivity problems.
Follow these steps to ensure a successful connection:
1. Check Your WiFi Network
Before troubleshooting your camera, make sure that your WiFi network is functioning properly. Check if other devices are able to connect to the network without any issues.
Additionally, ensure that the camera is within range of the WiFi signal. If the signal is weak in the camera’s location, consider moving your router or using a WiFi extender to improve the signal strength.
2. Verify WiFi Network Name and Password
Double-check that you are entering the correct WiFi network name (SSID) and password for your camera. It’s easy to make a typo or mix up numbers and letters, so take your time and enter the details accurately.
If you’re unsure about the network credentials, you can find them on your router or contact your internet service provider for assistance.
3. Ensure Compatibility with WiFi Network
Nest cameras are compatible with 2.4GHz WiFi networks. If your WiFi network is set to use a 5GHz frequency, the camera will not be able to connect. Check your router settings and switch to the appropriate frequency band if necessary.
4. Consult the User Manual and Online Resources
If you’ve tried the above troubleshooting tips and still can’t connect your Nest camera to WiFi, it’s time to consult the user manual or online support resources.
The user manual provides detailed instructions specific to your camera model, while online resources often have FAQs, troubleshooting guides, and community forums where you can seek help from other Nest camera users.
By following these troubleshooting tips, you can overcome common WiFi connectivity issues and ensure a smooth setup process for your Nest camera.
Remember to double-check your network settings, verify the WiFi network compatibility, and seek further assistance if needed.
With a successful connection, you’ll be able to enjoy the features and benefits of your Nest camera for enhanced home security.
Latest Developments in Nest Cameras
Nest cameras have recently introduced exciting new features that enhance both convenience and security. One of the notable developments is the integration of Google Assistant, allowing users to control their cameras using voice commands.
With this integration, you can simply ask Google Assistant to show a live feed from your Nest camera on your smart display or TV, making it easier than ever to keep an eye on your home.
Another significant advancement is the introduction of continuous recording. With this feature, Nest cameras now offer 24/7 video recording, ensuring that no moment goes unnoticed.
This is particularly valuable for home security, as it provides a comprehensive view of any activity in and around your property. Whether you’re concerned about potential intruders or simply want to keep an eye on your loved ones, continuous recording offers peace of mind.
In addition to these developments, Nest cameras continue to be a reliable choice for home surveillance. Their advanced technology and user-friendly interface make them accessible to users of all levels of technical expertise.
With the Nest app, you can easily customize settings, receive notifications, and review recorded footage. Whether you’re looking to enhance the security of your home or keep an eye on your pets while you’re away, Nest cameras provide a seamless and effective solution.
FAQ
How do I connect my Nest camera to WiFi?
To connect your Nest camera to WiFi, follow these steps: download the Nest app and create an account, plug in your Nest camera and wait for it to power on, open the Nest app and tap on “Add” to add a new device, select “Nest Cam” and follow the on-screen instructions to connect to WiFi, enter your WiFi network name and password, and wait for the camera to connect to WiFi.
How do I download the Nest app and create an account?
To download the Nest app, visit the app store on your smartphone or tablet and search for “Nest.” Once downloaded, open the app and follow the prompts to create a new account. Provide basic information like your name, email address, and password to create your Nest account.
How do I add my camera to the Nest app?
To add your Nest camera to the Nest app, open the app and tap on the “Add” button. Select “Nest Cam” from the list of devices and follow the on-screen instructions to connect your camera to the app. Make sure to carefully follow the instructions provided.
How do I connect my camera to WiFi?
To connect your camera to WiFi, make sure it is plugged in and turned on. In the Nest app, select your WiFi network from the list and enter your network password. Wait for the camera to connect to WiFi. This process may take a few minutes.
What should I do if I’m having trouble connecting my Nest camera to WiFi?
If you’re experiencing issues connecting your Nest camera to WiFi, try the following troubleshooting tips: ensure that your WiFi network is functioning properly and has a strong signal in the camera’s location, double-check that you are entering the correct WiFi network name and password, make sure your WiFi network is set up to use a 2.4GHz frequency (Nest cameras are not compatible with 5GHz networks), and consult the user manual or online support resources for more detailed troubleshooting steps.
What are the latest developments in Nest cameras?
Nest cameras now offer Google Assistant integration, allowing you to control your camera with voice commands. Additionally, Nest cameras have introduced 24/7 continuous recording, giving you access to footage from any time of day or night. These developments enhance the overall functionality and security of Nest cameras.